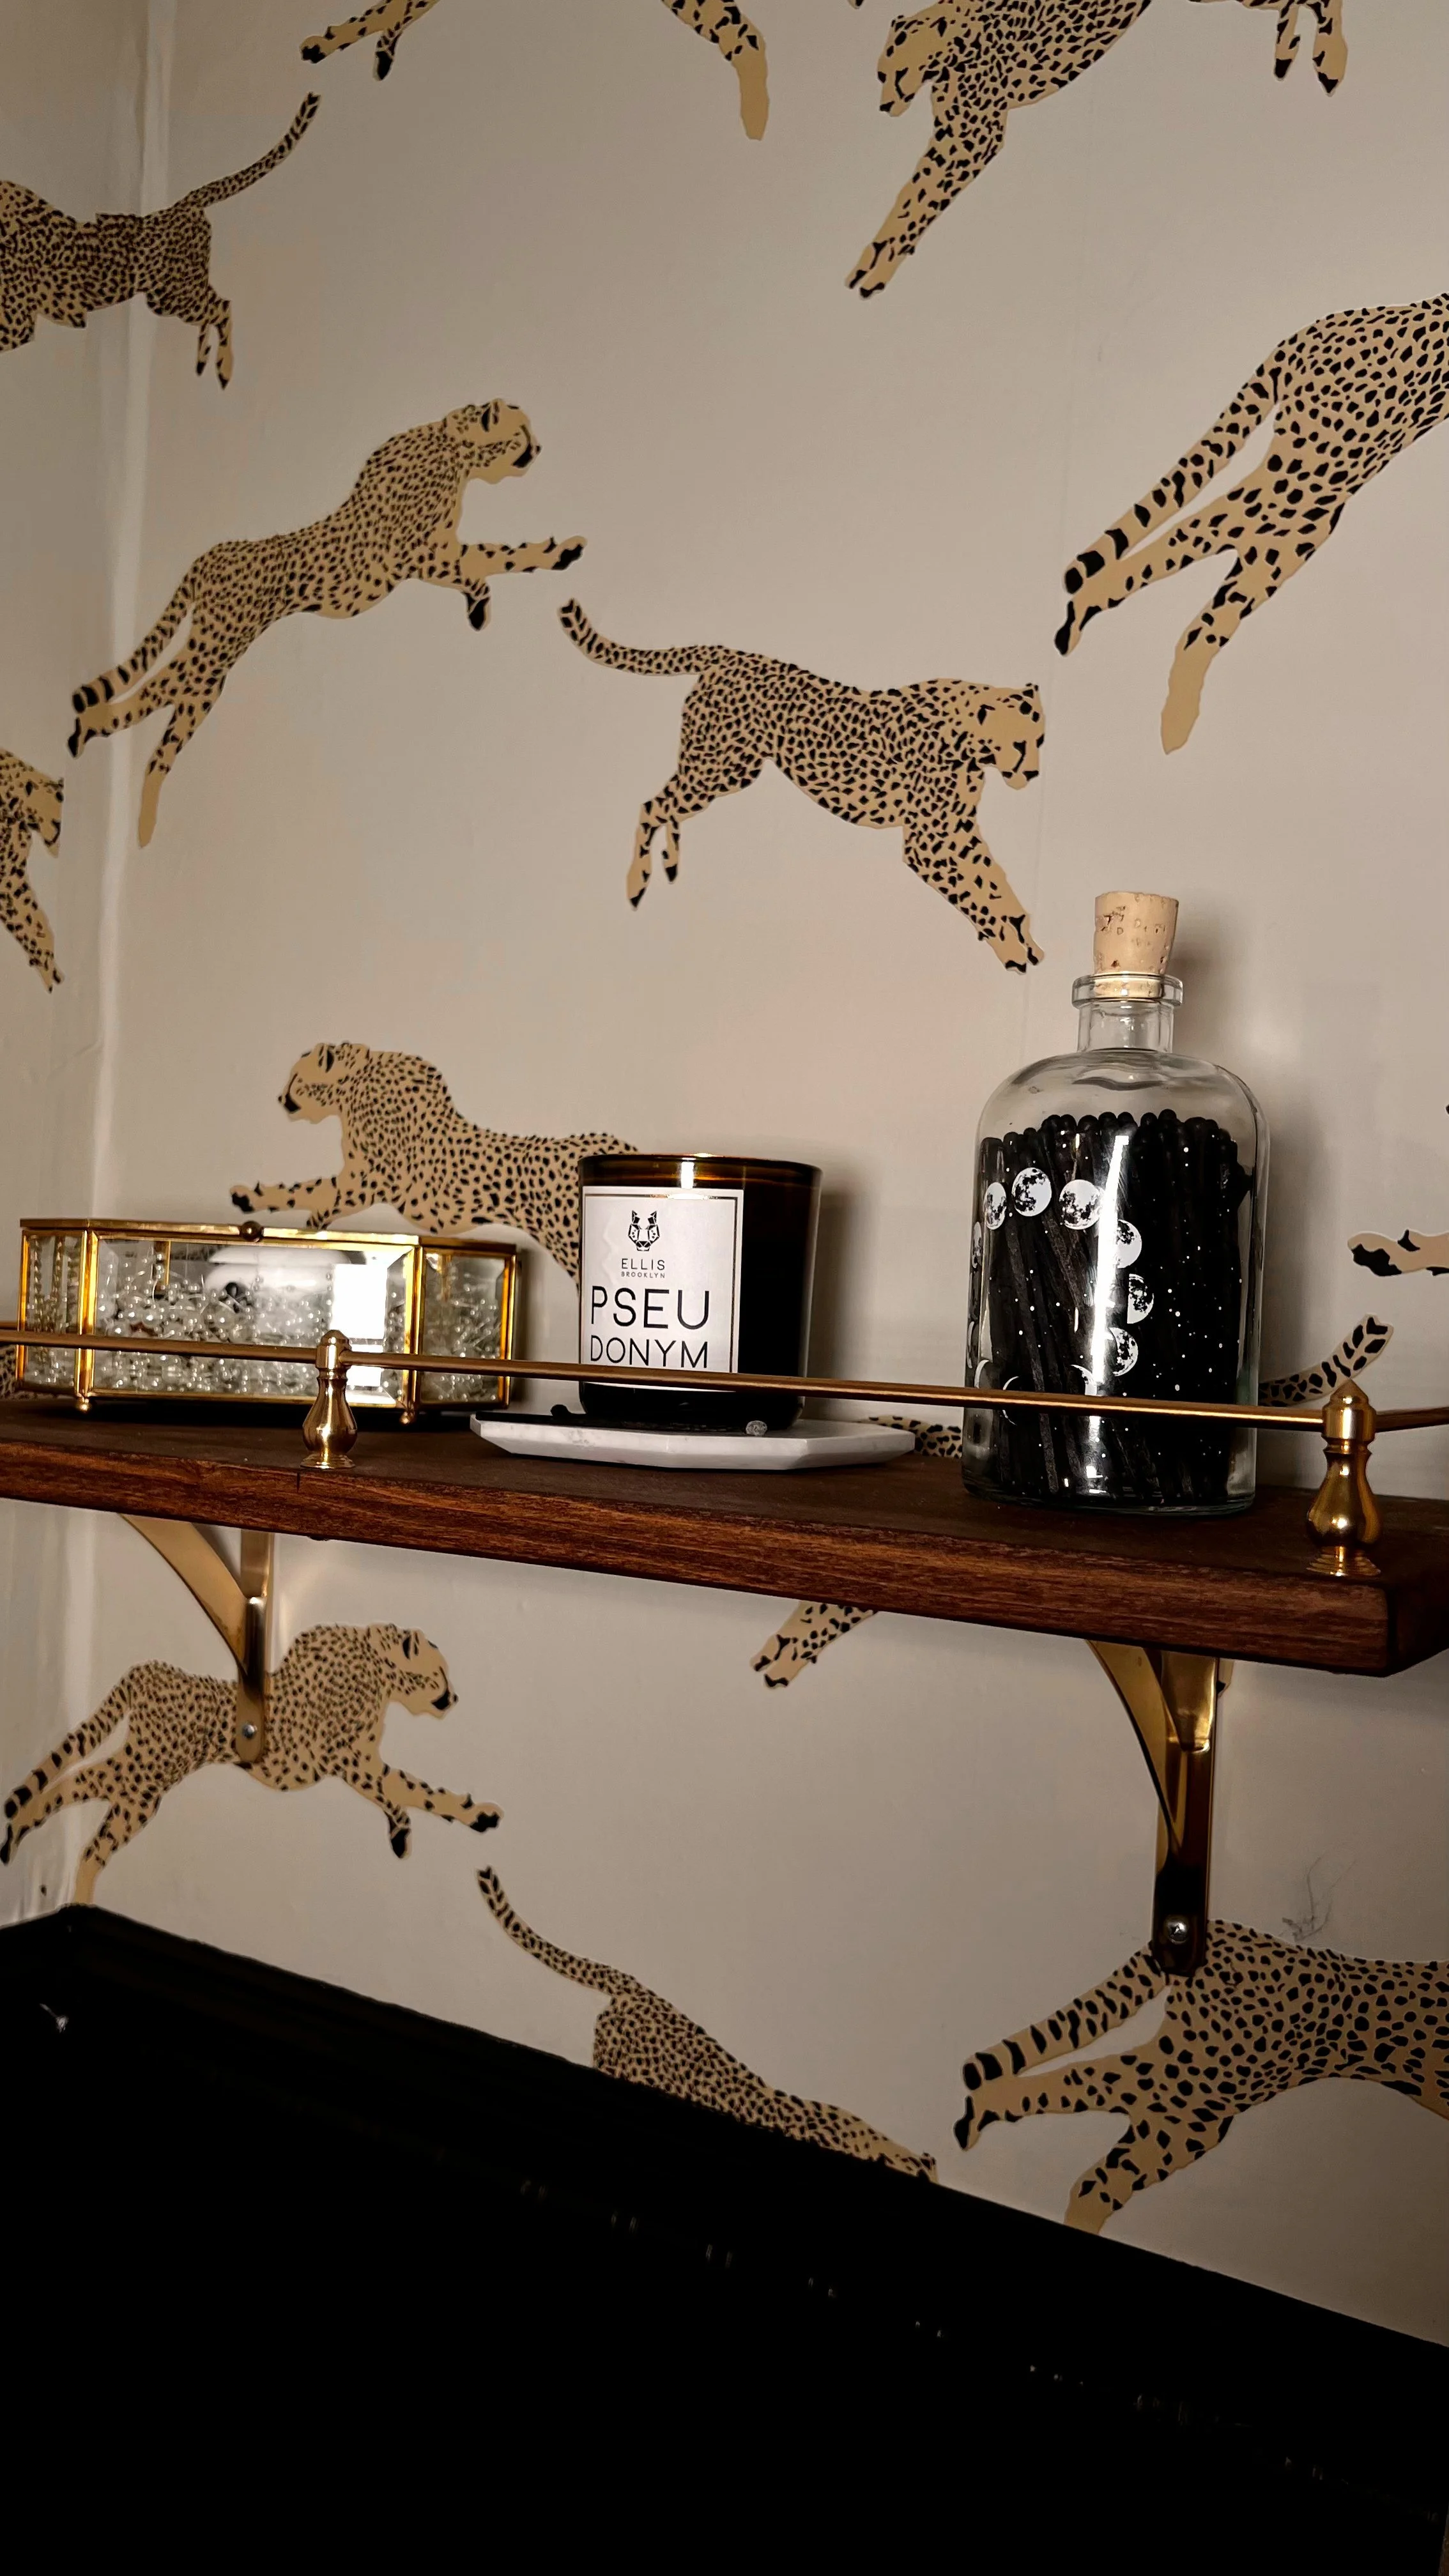
DIY: Apartment Bathroom Shelves With A Brass Gallery Rail
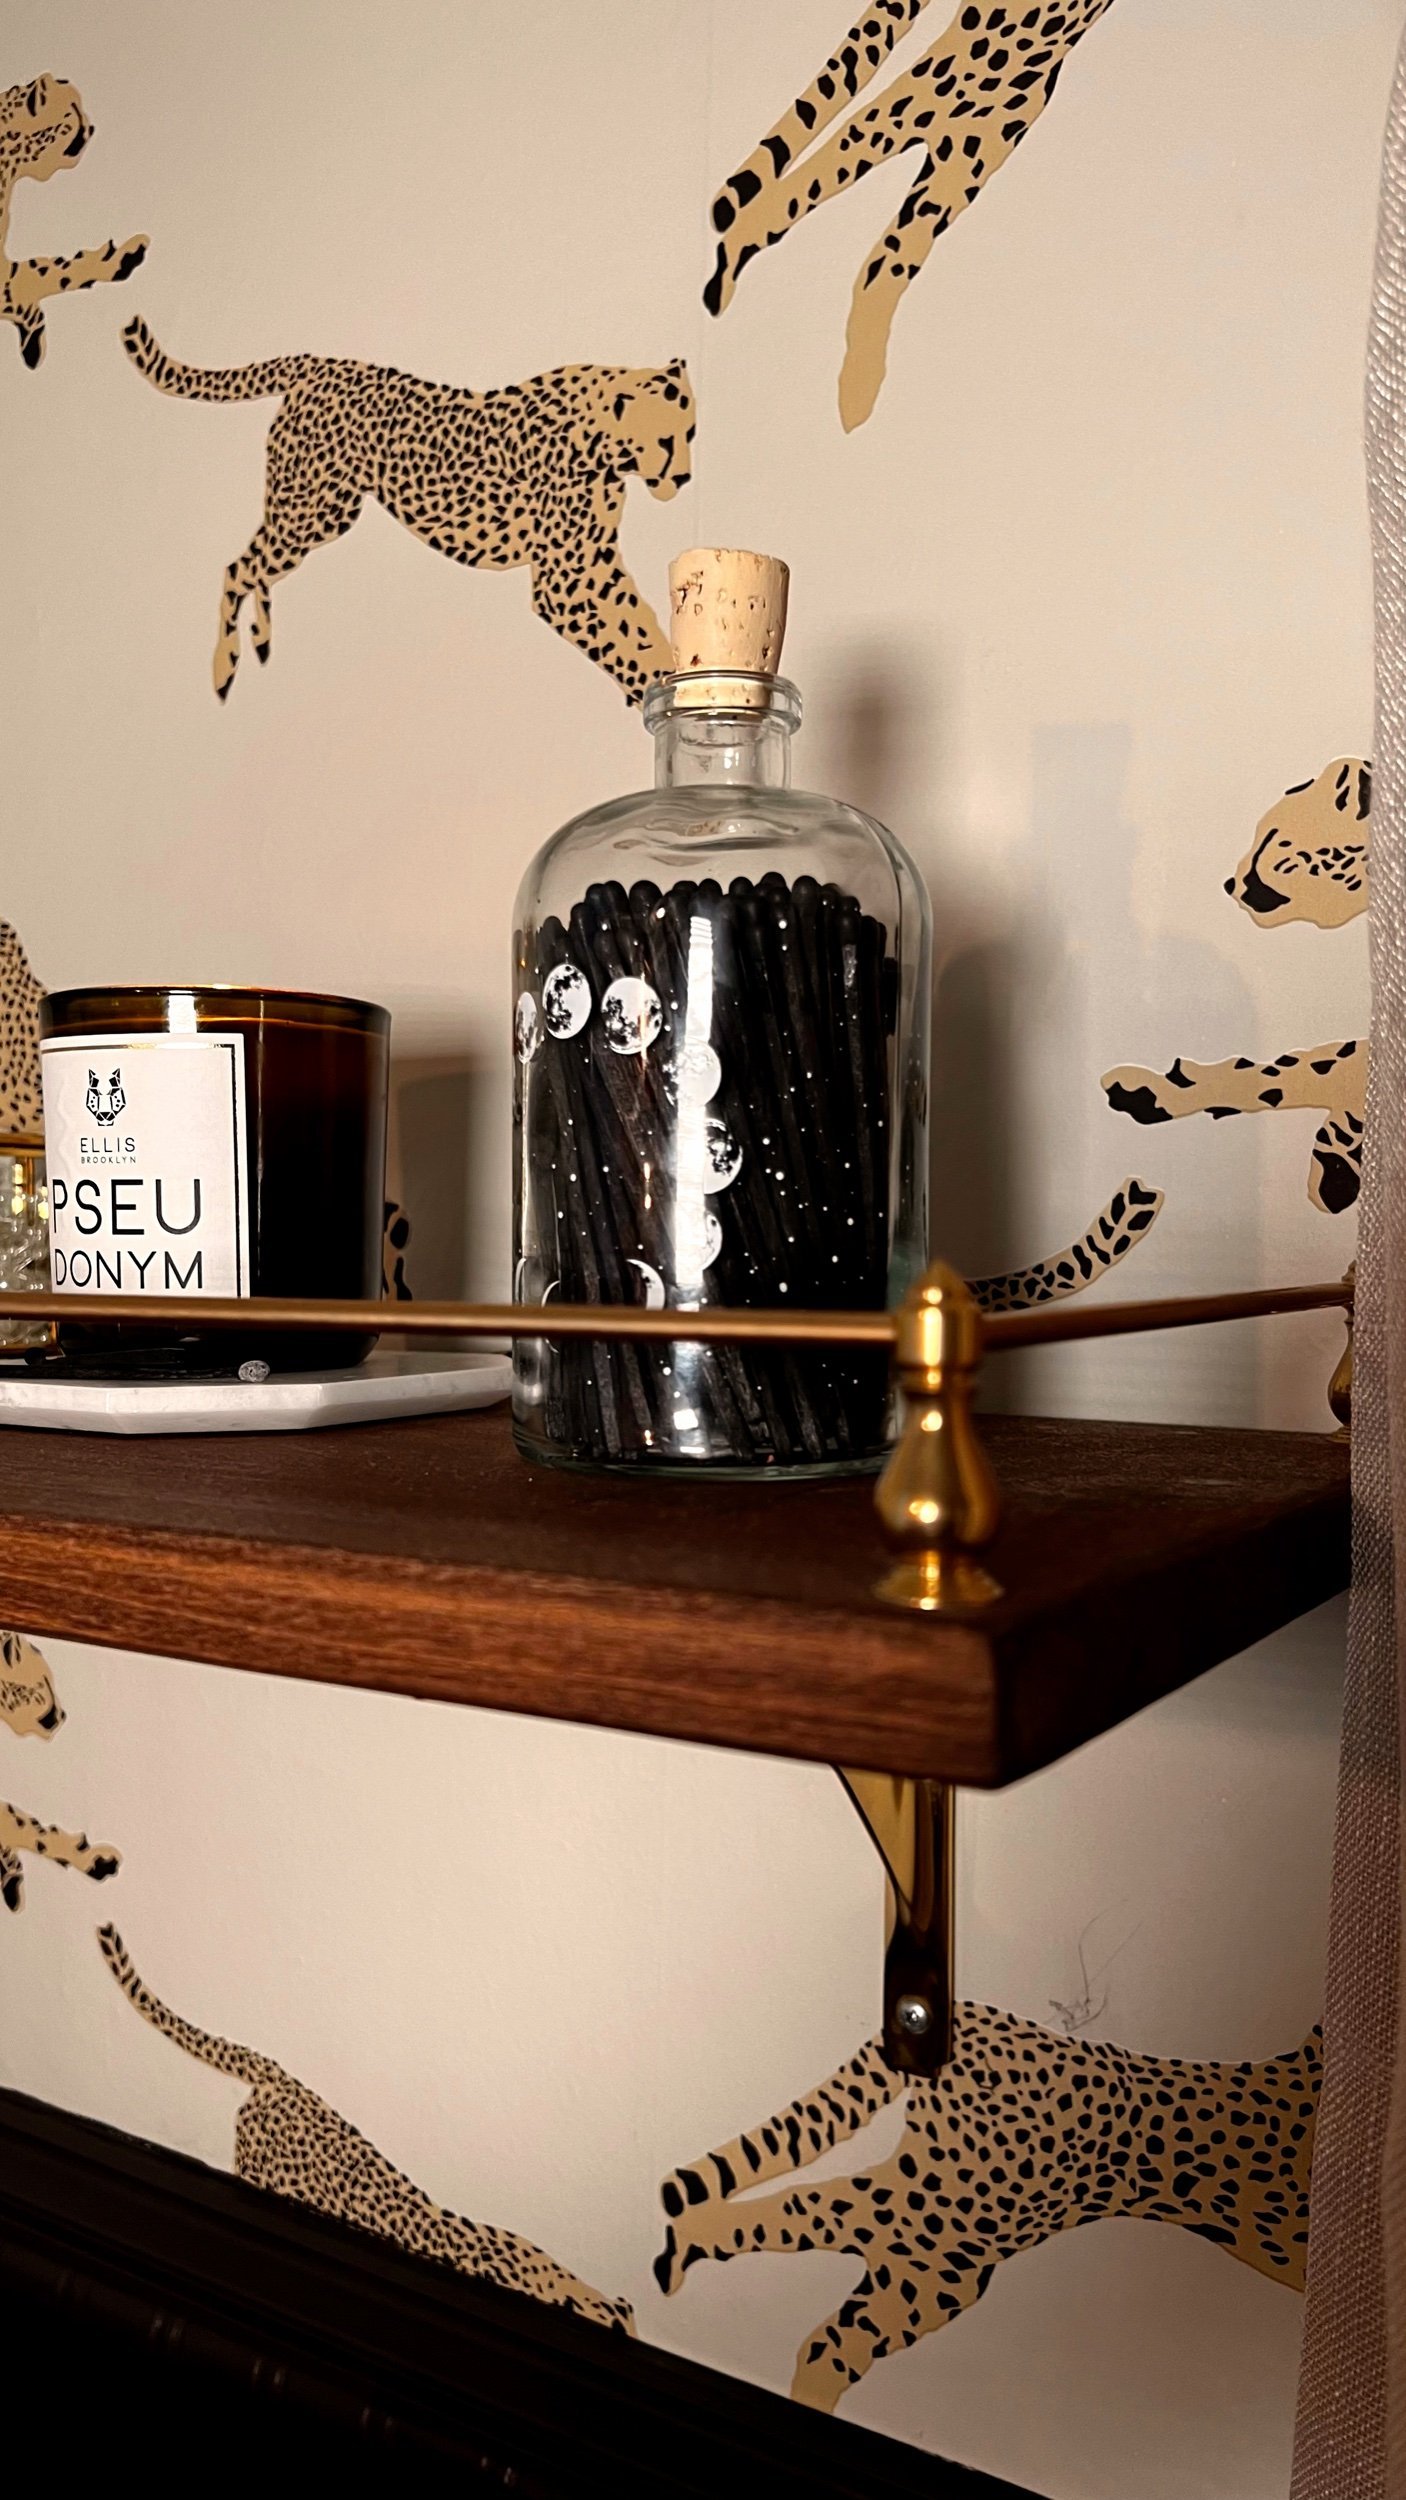
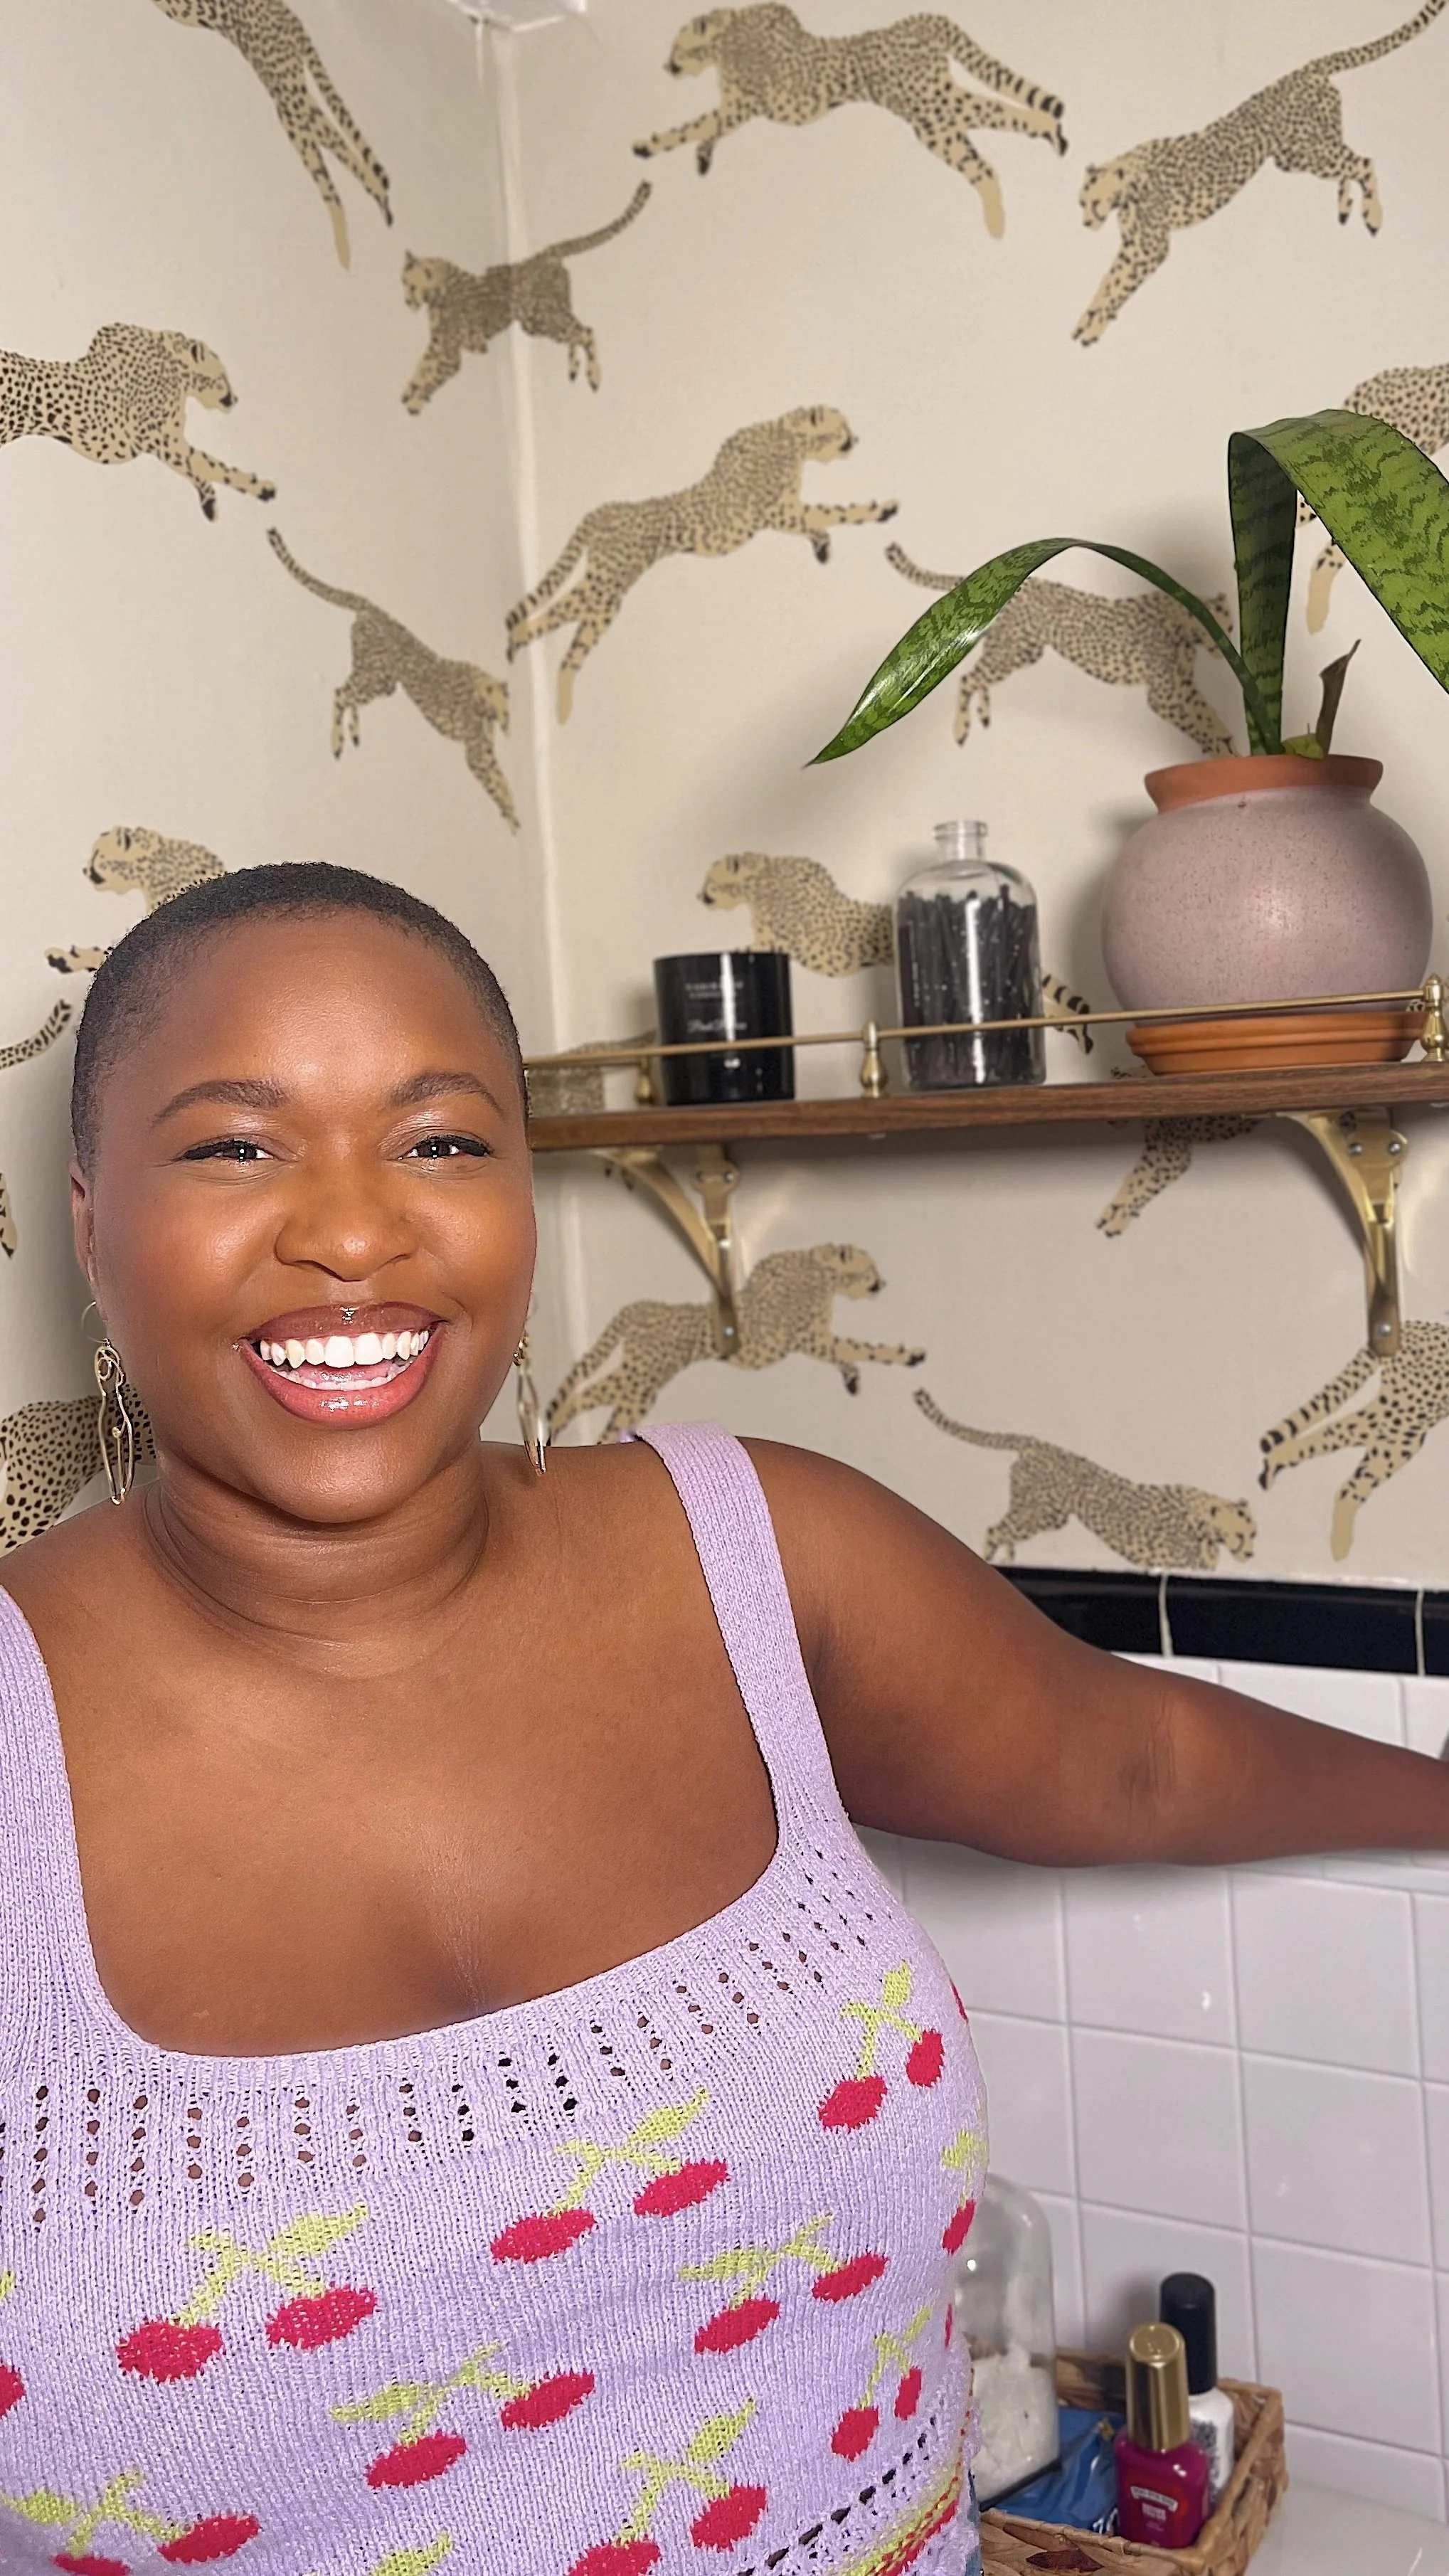
My apartment bathroom has been through a lot, but one of the best projects I’ve ever done was adding a shelf behind my toilet sinceI needed extra storage and an excuse to add more decor. After living with the basic shelf for a few weeks, I decided to jazz up the area by installing a gallery rail.
Gallery rails are pieces of metal, usually brass, attached on top of shelving, cabinets and/or mantles as a decorative detail while also preventing any items from falling. You’ve seen them all over Pinterest, so keep reading to see how you can upgrade your next #shelfie!
But first, Supplies!
Shelves!
I had a 28” piece of Pine left over from my kitchen project, but you can get wood cut down at Home Depot!
Gallery Rail system - I'll explain this further down, but my set was from Vintage Hardware.
Drill
This one is great for drywall, but for those with concrete or brick walls, go for a hammer drill and masonry drill bits.
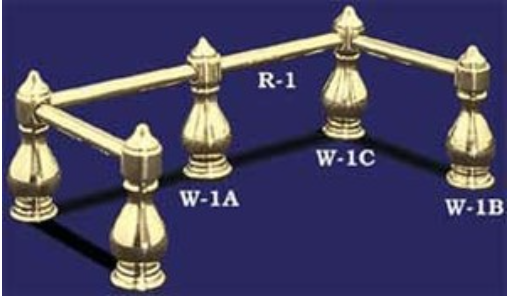
A diagram of a gallery rail system from Vintage Hardware.
a hand drawing of the layout for wall shelving with the pilot hole positions marked.
A handrawn photo of the my set up - don’t laugh!
Here's How You Do It
Get some wood and prep it any way you like. I sanded mine with a fine grit sand paper and stained using Special Walnut. Finish it all up with a polyurethane spray. It's super easier to apply, but make sure you are in a well-ventilated area.
Install the shelf brackets into the wall with the proper anchors according to your wall type. Check out this video if you need help!
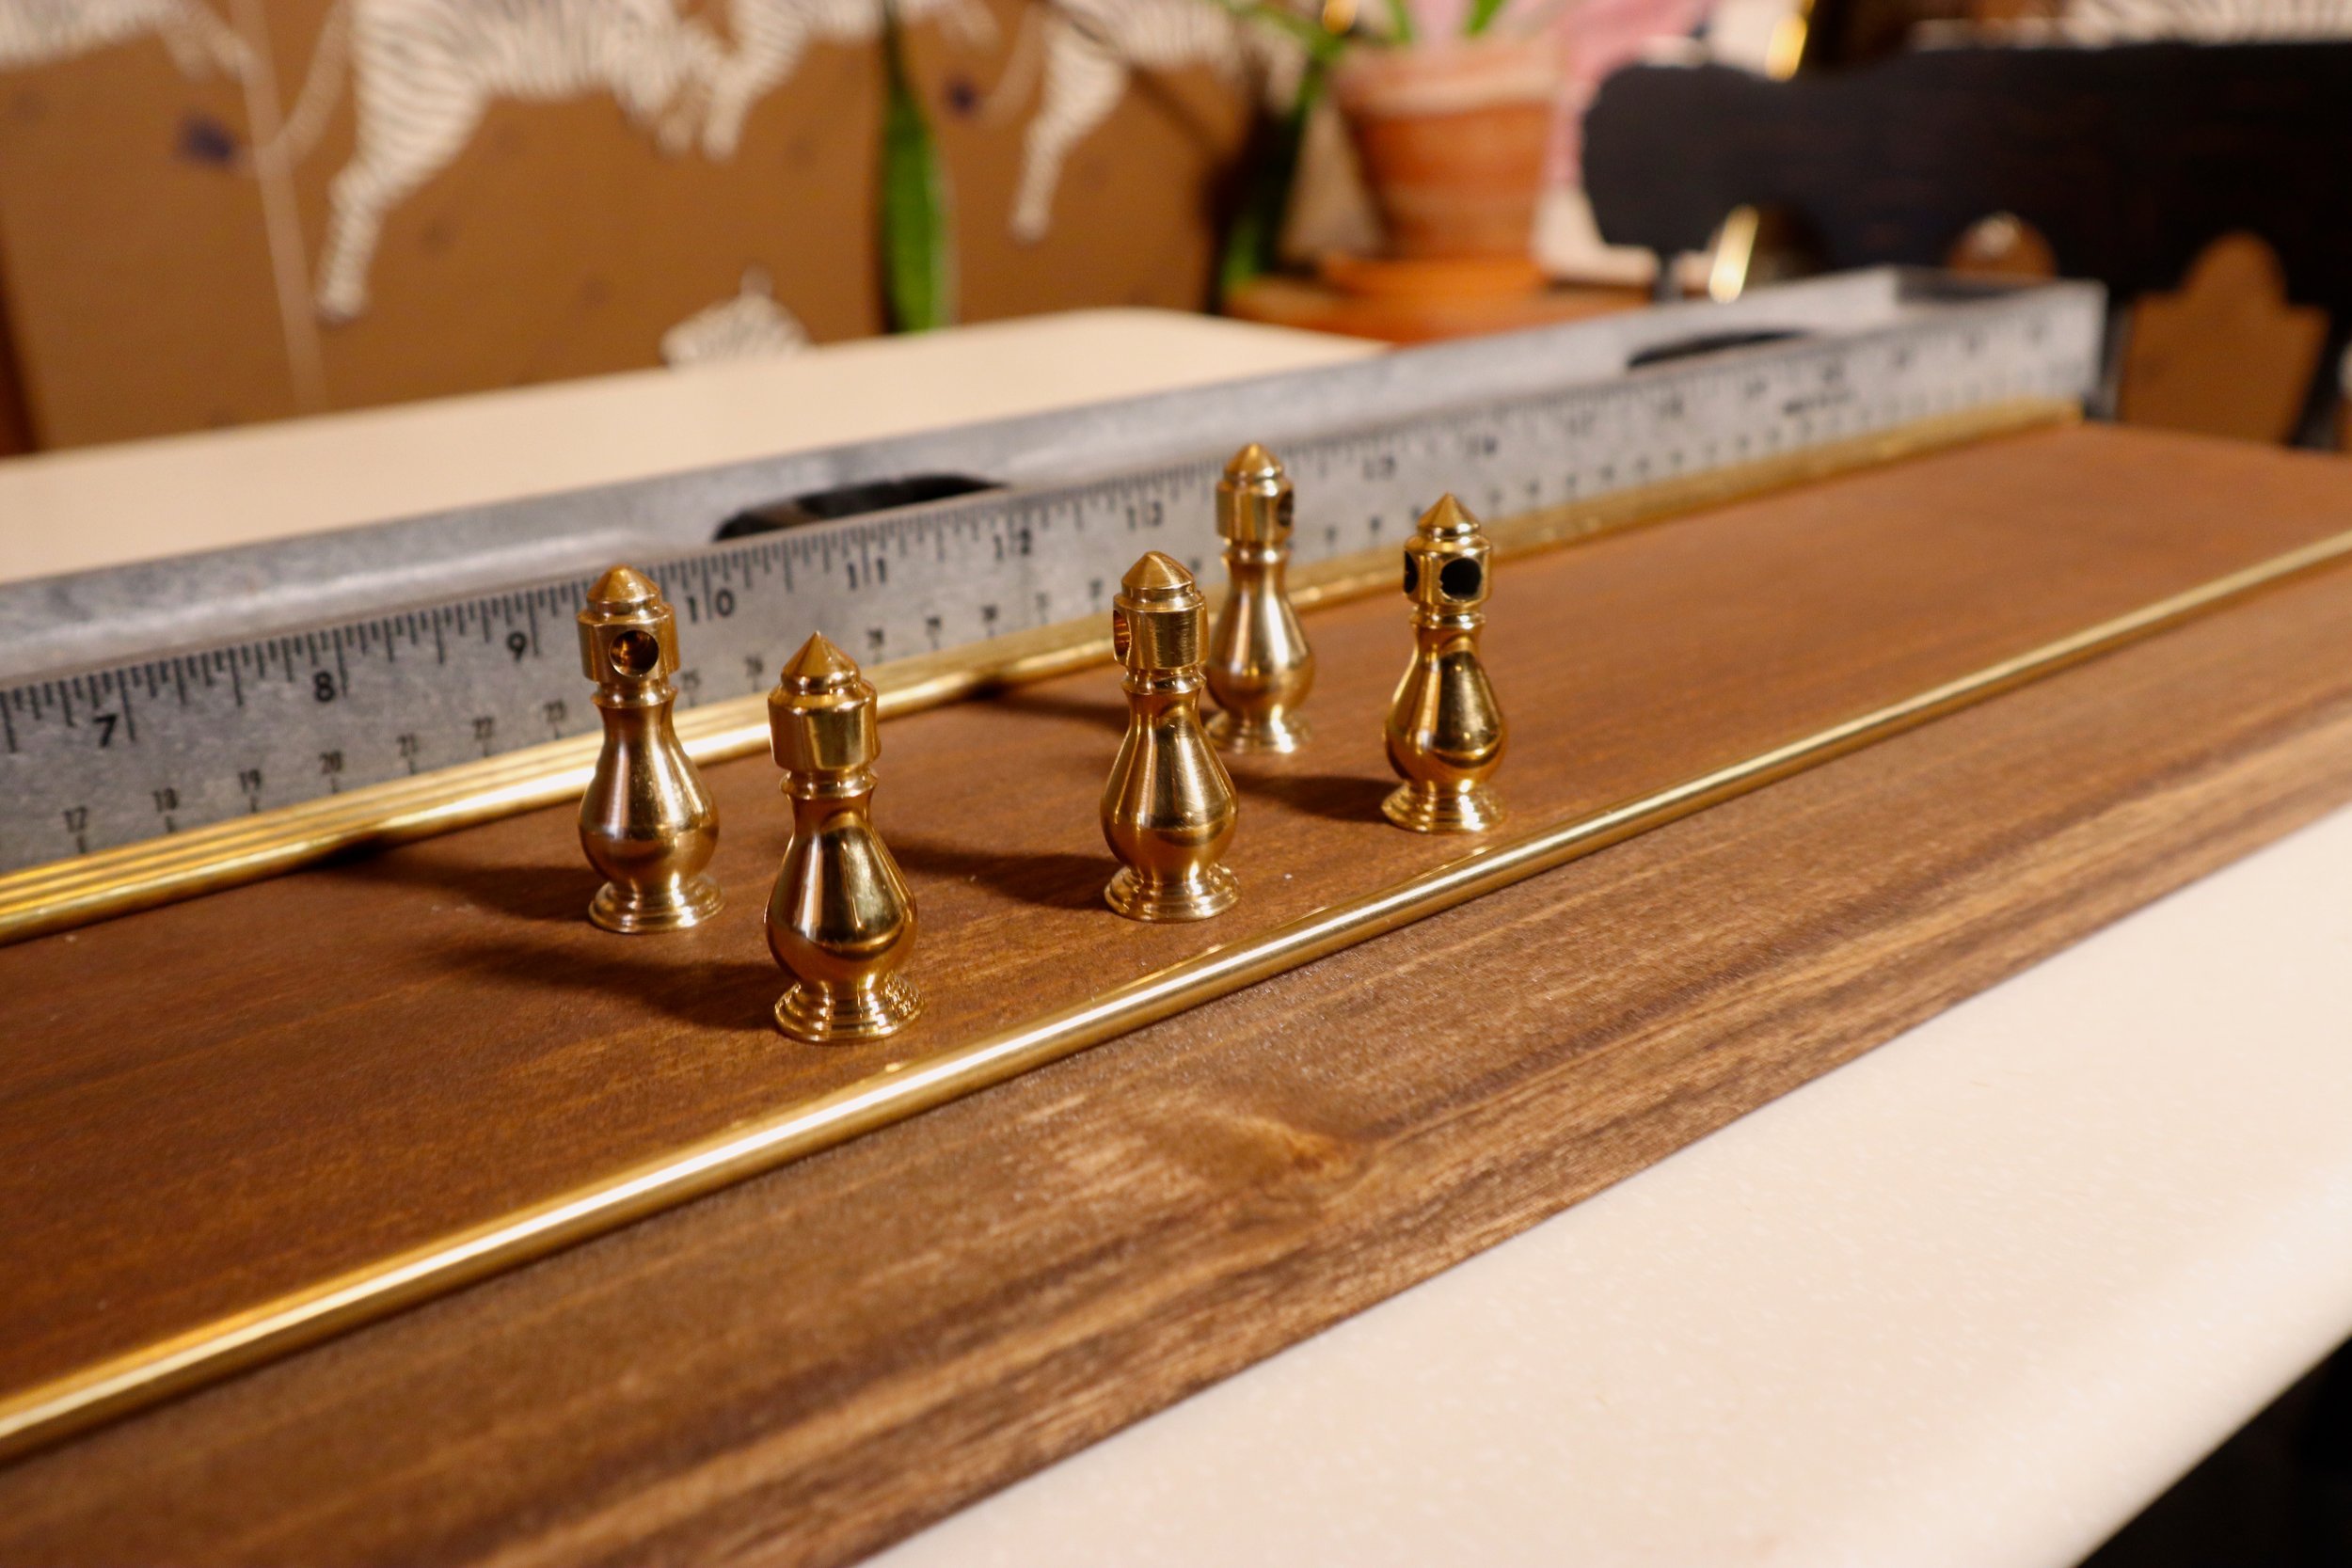
Measure the wood and decide how to space the rail. I opted for a full wrap, soI placed one finial at each corner (front & back) and added a center finial on the front side of the shelf.
Next, measure the rail and used pipe cutters to cut it down to size. The rod needs to sit comfortably inside the finials, or else it will slip out, so be careful not to cut too much off in the beginning.
Once the spacing is set, mark with your pencil and drill pilot holes. Screw the finials into place and slide in the brass rail. Repeat until the circuit is closed.
Attach the shelf to the brackets. Add decor and enjoy!
How To Style A Shelf
Styling needs will change depending on how you plan to use these shelves, but small baskets, candles, and decorative trays will always look good. You can also use decorative books or picture frames to create a triangle, which is very appealing to the eye!
Opt for wooden bowls or glass boxes if you need serious storage. Oh, and fresh flowers from Trader Joe's are always in style!
Where Do I Buy The Hardware?
My rail system is from Vintage Hardware, but before you click the link, beware; the website looks like spam from 2005, but I promise they are legit. I placed two orders and had no problems.
P.S. If your shelf is on the shorter end, save money on shipping costs by ordering multiple of the 18" rods rather than one 39" & cutting it down. The shipping for a single 39" rail was $15, while my other order for eight items was only $9.
Ok, but How much?
All in all this project cost under $200, and most of the money was spent on the hardware itself ($107).
I had a lot of this supplies left over from other projects, but to save money, I rented tools from Ace Hardware, because I knew I wouldn’t be using them for future projects.
Do you love this look? Will you give it a try in your apartment? Let me know in the comments.
xoxo,
Imani


