
8 Tips For Peel and Stick Wallpaper Application
Photo Credit: TRUTHIS Studios & Farrah Skeiky | This post contains affiliate links
Here it is… The long overdue blog post full of tips & tricks to get the best peel and stick wallpaper application. After covering my dining room, kitchen, and a few other spaces in all manners of patterned paper, I feel I have enough experience to share some insights on the process. Thus, I have created a list of tips that have helped me along my DIY projects.

Read The Directions
This might be obvious, but read the directions! Not all wallpapers are made the same, and I HIGHLY encourage you to read the brand specific instructions. Some brands require you to overlap the pattern while others prefer that you line the sheets up next to each other.
Have A Friend
I don’t care if it's your first time or your 15th, installing peel and stick wallpaper is not the kind of project you should tackle on your own. I, like a dumb ass, did my kitchen project solo and if you looks close… you can tell. A second set of hands are there to hold the paper up to the ceiling, while you ensure the pattern is lining up against the already installed sheet. Having a friend will cut down on the install time & frustrations.
*if you can’t get a friend to help, sign up for a TaskRabbit and use my link to save $10!

Patience Little Sister
I’m always in a rush and I really hate waiting which is not a good demeanor to have when installing peel and stick wallpaper! That said, do as I say, and not as I do… BE PATIENT! Lining up a complicated pattern takes time, but I promise it will be worth it!
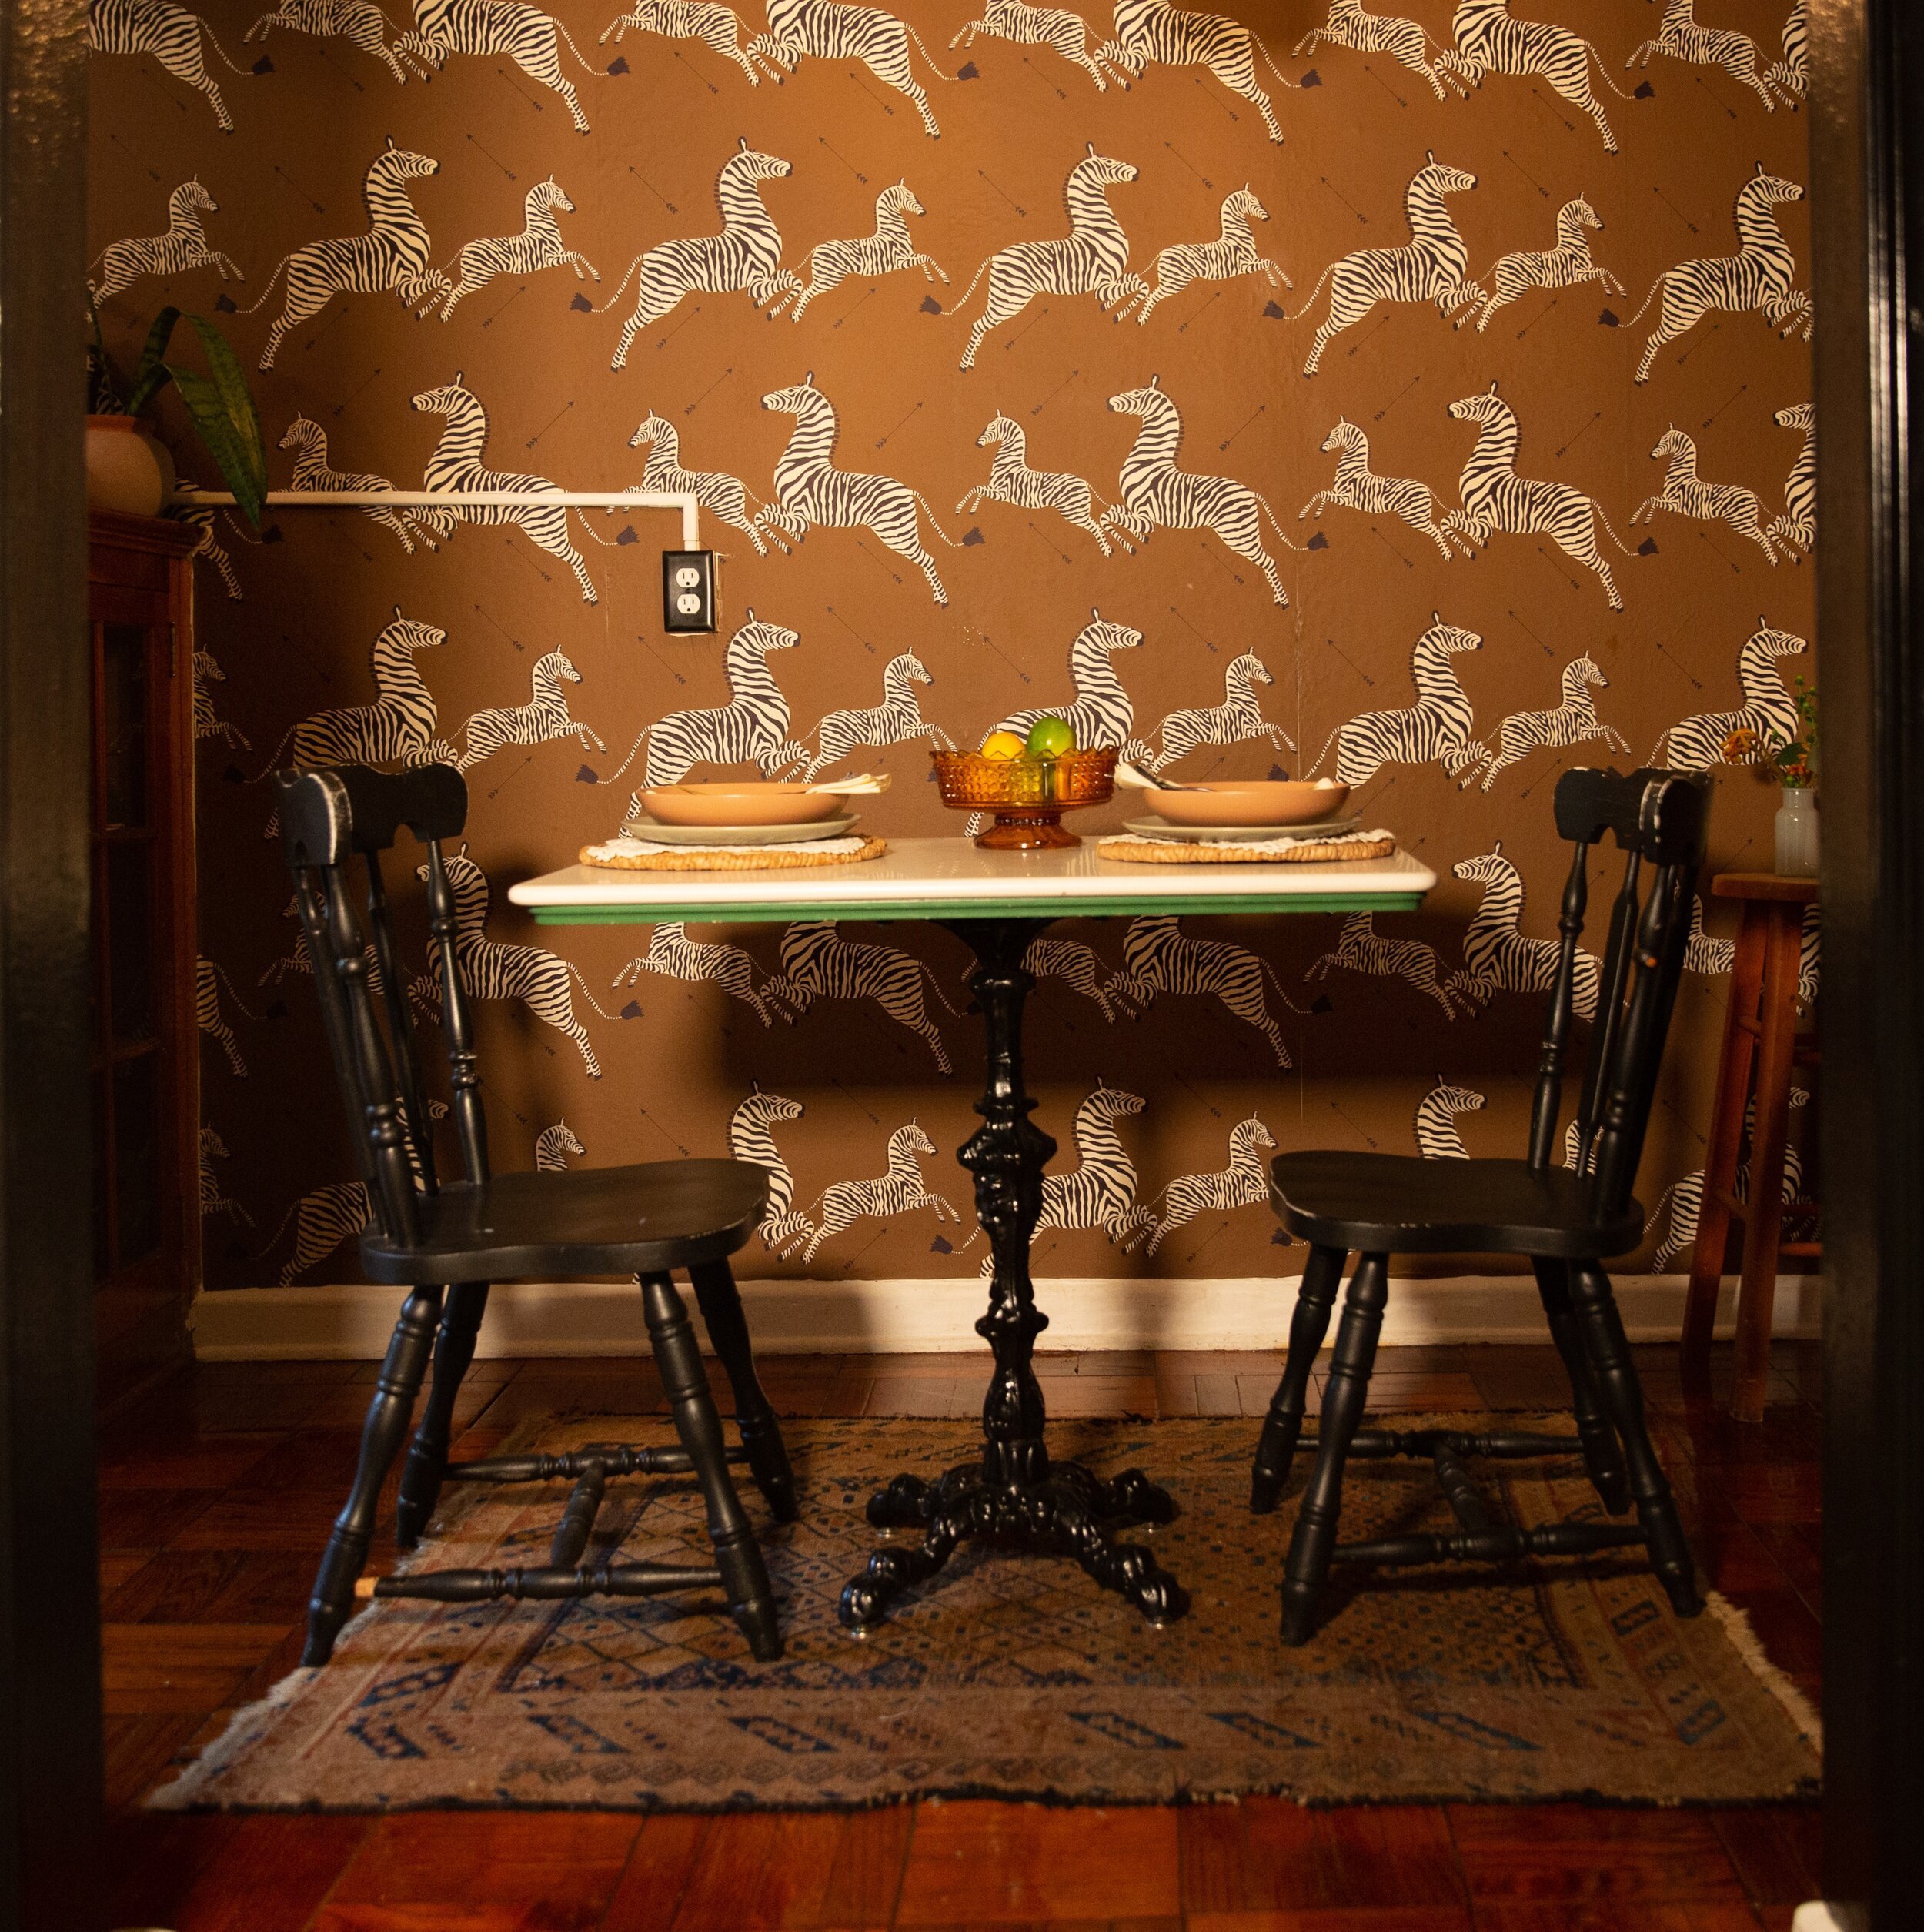
Just so you understand the time commitment - my dining room project, which is about 60 square feet took two people over 10 hours to complete.
Price Matters
I’m a firm believer in the “you get what you pay for”. In terms of wallpaper, I've noticed that the papers in the $50 - $120 per rolls range are much better quality than the $10 - $20 rolls. The rolls I used in my kitchen, were $12/roll. They look great & work fine, but after designing my collection with Otto Studio, I can ensure you paying the additional money will ensure a much better application.
Otto Studio papers are made with premium vinyl and reinforced wit natural fibers. They can be cleaned, are water resistant and will not shrink overtime. That,

Get The Right Tools
Having the right tools is essential for doing peel and stick wallpaper right! This kit, a paint spatula and a sharp box cutter are must have tools!
Clean The Walls
This is the forgotten step of doing a peel and stick wallpaper project. Use a degreaser to clean the walls before you start the project. This will remove any dirt, gunk or residue to ensure your adhesive has the best possible chance to adhere!

Bumpy Walls Need Love Too
A LOT of peel and stick wallpaper brands will say that their papers can only be installed on smooth walls. And while smooth drywall will have the best adhesion and appearance, I prefer living in older apartments with plaster walls, which are rarely smooth, so here is what I do…
When lining up your sheets, securely push the edges of the wallpaper into the wall - you can ever use a seam roller to ensure everything is neat and tidy. Over the middle of the paper, lightly graze your hand or smoothing tool across the surface so the paper touches the wall, but doesn’t sink into the grooves.
With bumpy walls, you will have to except the fact that some of the texture on the wall will show through, but this will help minimize the appearance.

The Busier The better
Although, they are much more difficult to install, busier patterns, like this one, or this one, simply look better than simple patters and it might be more cost effective to use a stencil or paint than invest in wallpaper if you want a more simple look.