
My Thoughts on 5 Renter-Friendly DIYs and Design Hacks
THIS POST CONTAINS AFFILIATE LINKS
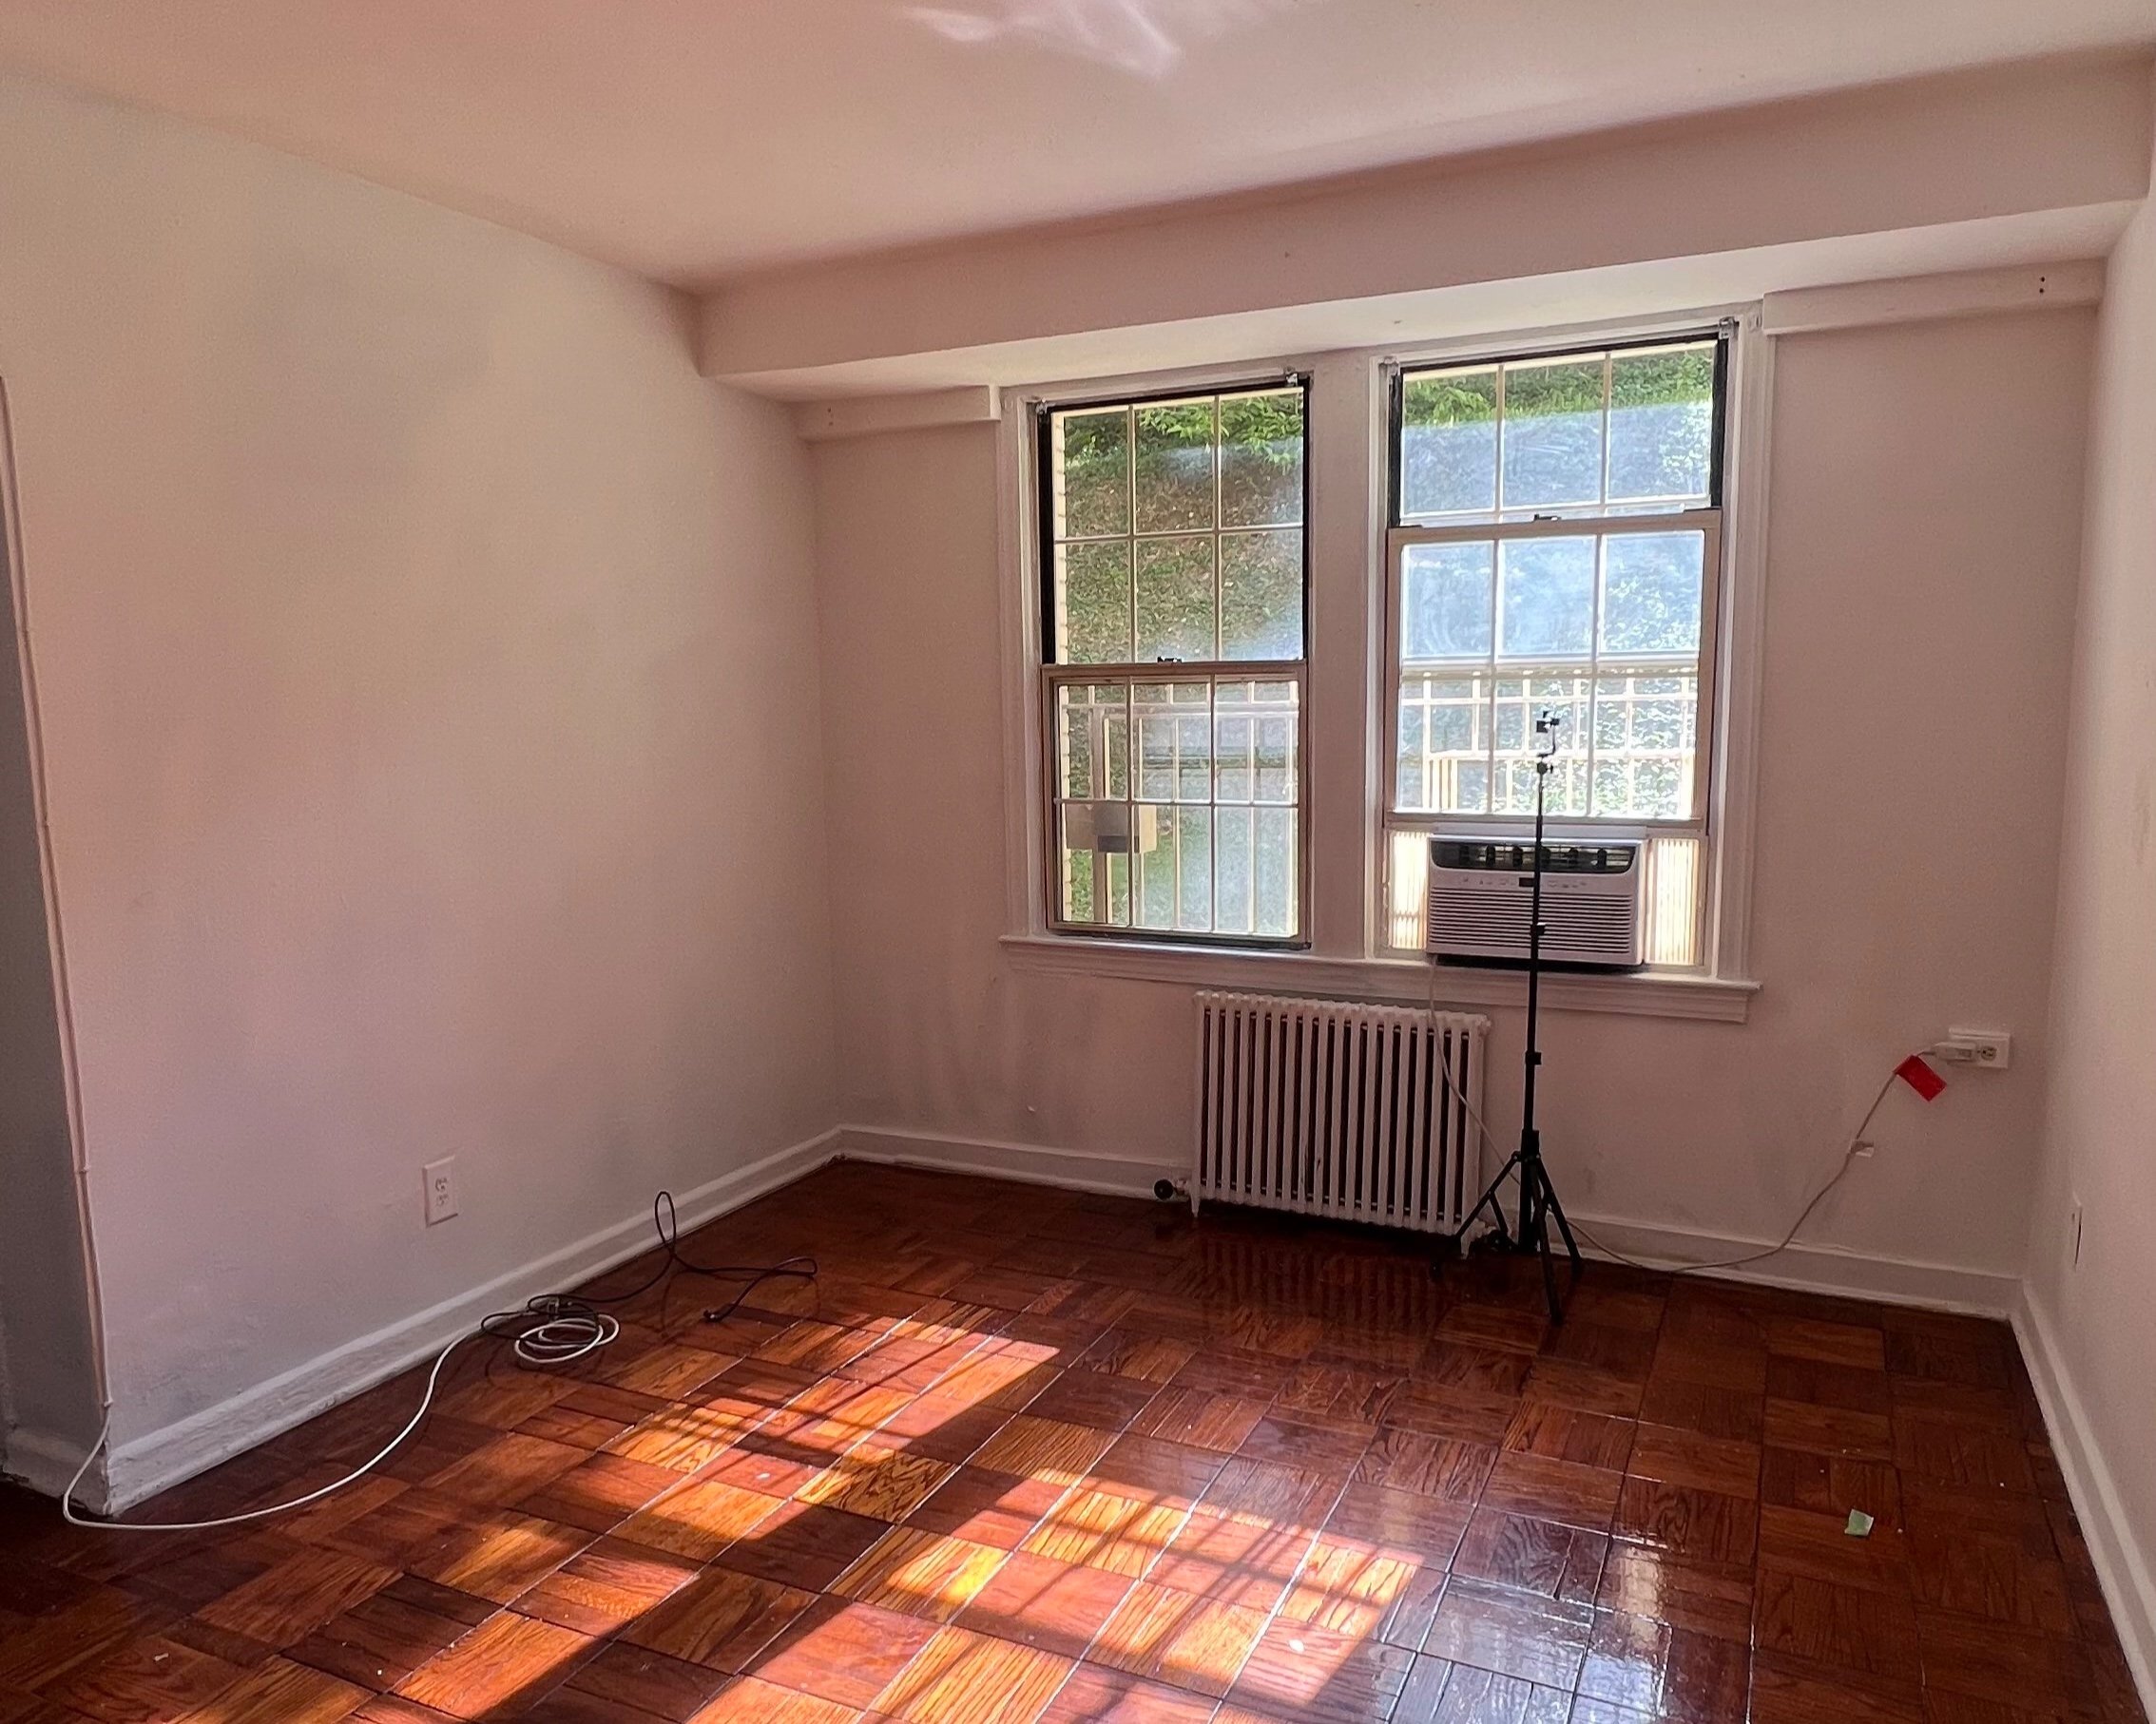
It's official! I've moved out of the studio and returned it to its original lackluster appearance. While I would have loved to leave everything, I'm glad my landlord insisted I remove the upgrades because now I can give a complete opinion on renter-friendly design hacks and decide if I would do them again. Hopefully, this will help you determine if you should do them in the first place.
Before we get into my final thoughts, many people have asked why my landlord would want me to remove the upgrades. Well! In my particular case, this apartment is rent-controlled, thus the increases are capped, so no matter how good the place looks, they can't raise the rent to whatever astronomical number they feel like. Plus, who knows if the next tenet would even like the changes I made. So, it was easier to have me take everything down and give the next person a blank canvas.
My Thoughts On Renter-Friendly DIY Projects
Peel-and-Stick Floor Tiles
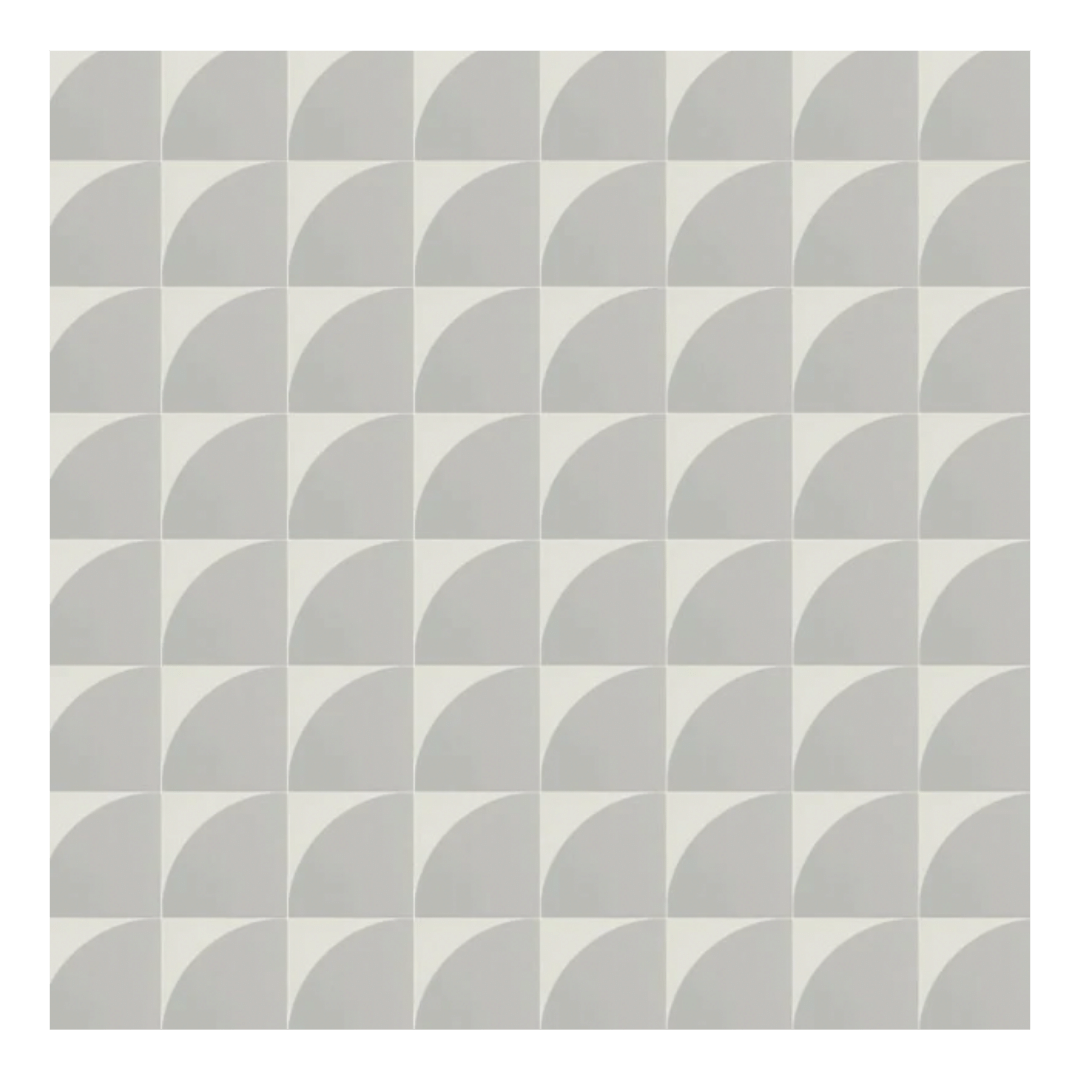
These peel-and-stick tiles looked much better than the brown ones my landlord installed, but the removal process was arduous. Over three days, I used a trim puller to pry the tiles up and Goo Gone to remove the thick adhesive residue. Many people suggested using a heat gun or blow dryer, but I didn’t want to disturb the adhesive on the vinyl tiles underneath so brute force was my only option.
FloorPops markets these as a permanent flooring solution, so I’m not upset they worked as intended. In fact, I’m planning to use the Marble Bonneville Tiles in my new kitchen. That said, a strenuous removal process is not for everyone, so I’ve found these peel-and-stick tile decals that Stefanie Bloom used in her bathroom makeover. These are formulated to be easily removed.


Pasted Removable Wallpaper
The HATE I got for this DIY should be studied. Every contractor, landlord, and skeptic seemed to be in my comments, assuring me I would RUIN the bathroom tiles by using pasted wallpaper over them. But this was one of the easiest removals I tackled.
Using a plastic spatula and my favorite hand-held steamer, I removed everything in about 30 minutes. Before I moved in, my landlord painted these 4x4 tiles white using the Rust-Oleum Tub and Tile, so there were a few spots where the white coating was removed, but this product typically lasts 3-4 years, so no harm, no foul. While I enjoyed the look, I'm kinda over this hack and want to embrace the two-toned blue tiles in the new bathroom.
Faux Door Molding
Adding faux moldings to my dining room entryway was and still is my favorite upgrade ever and if my new place wasn’t blessed with 4 1/2 inch casings, I would do it again in a heartbeat. I based my project on Marianne Sides NYC Apartment and I highly recommend this design hack for renters. I used nails and caulk to secure to the wall and the removal went ok. There were a few places where pieces of the plaster came down in chunks, but nothing a layer of spackling couldn’t fix.
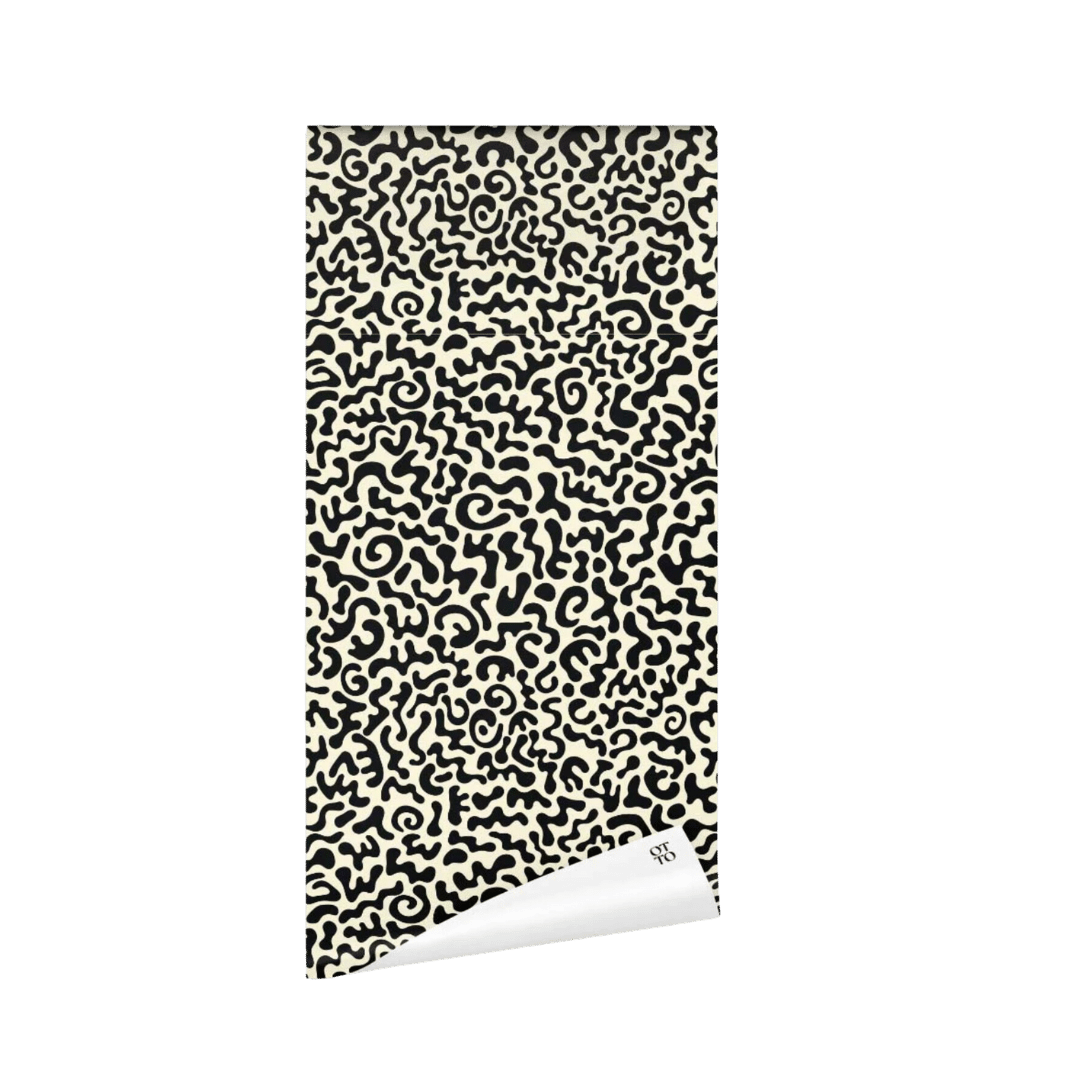
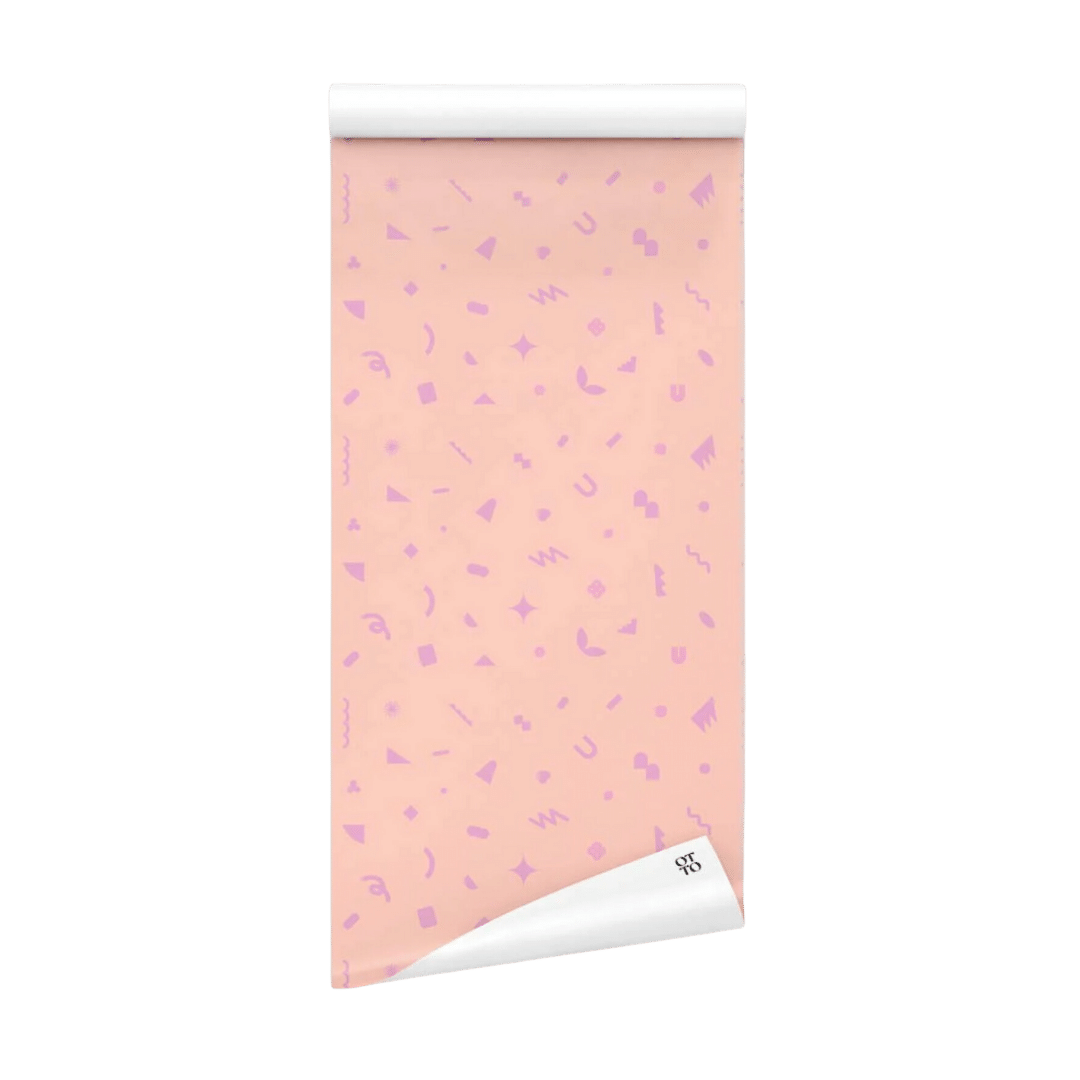
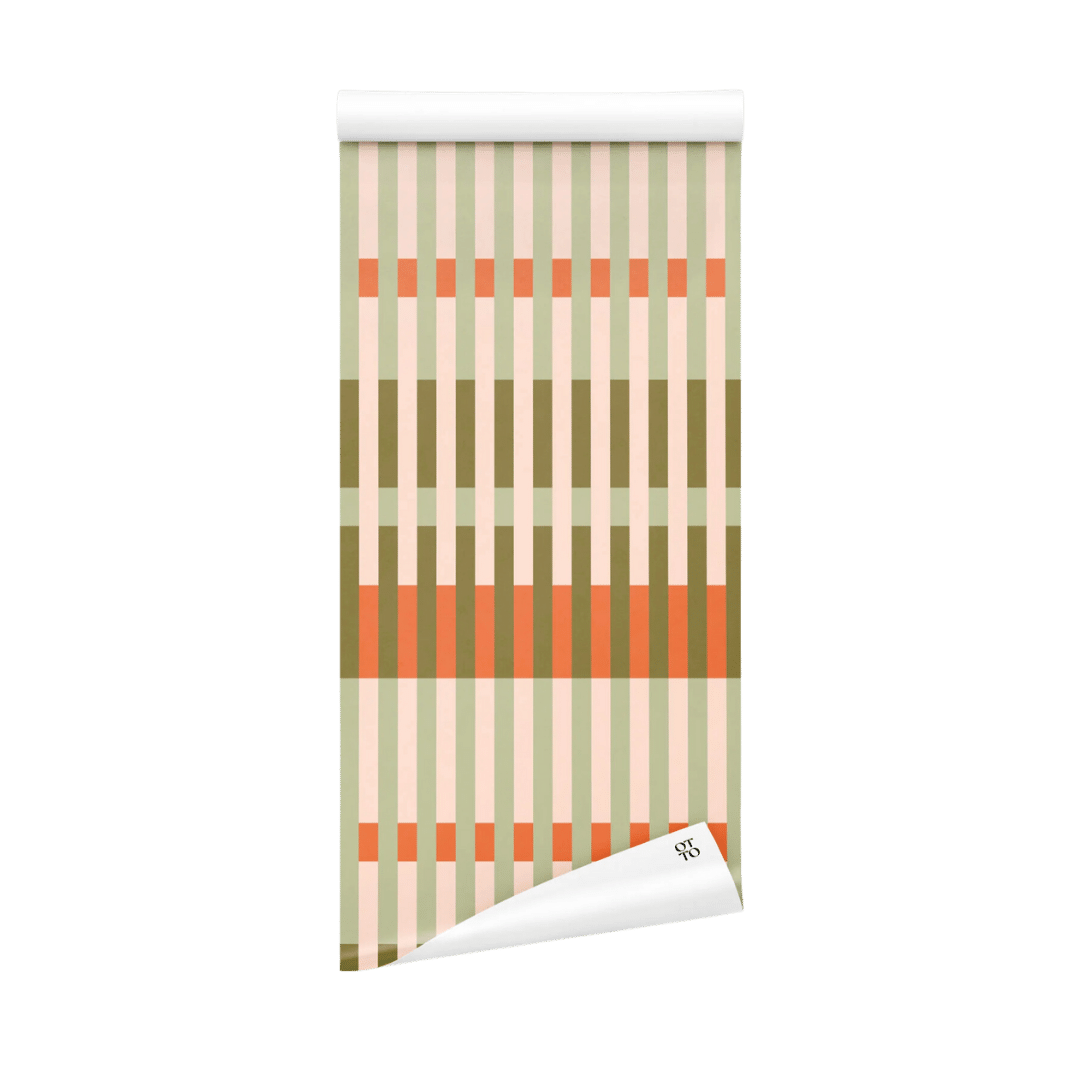
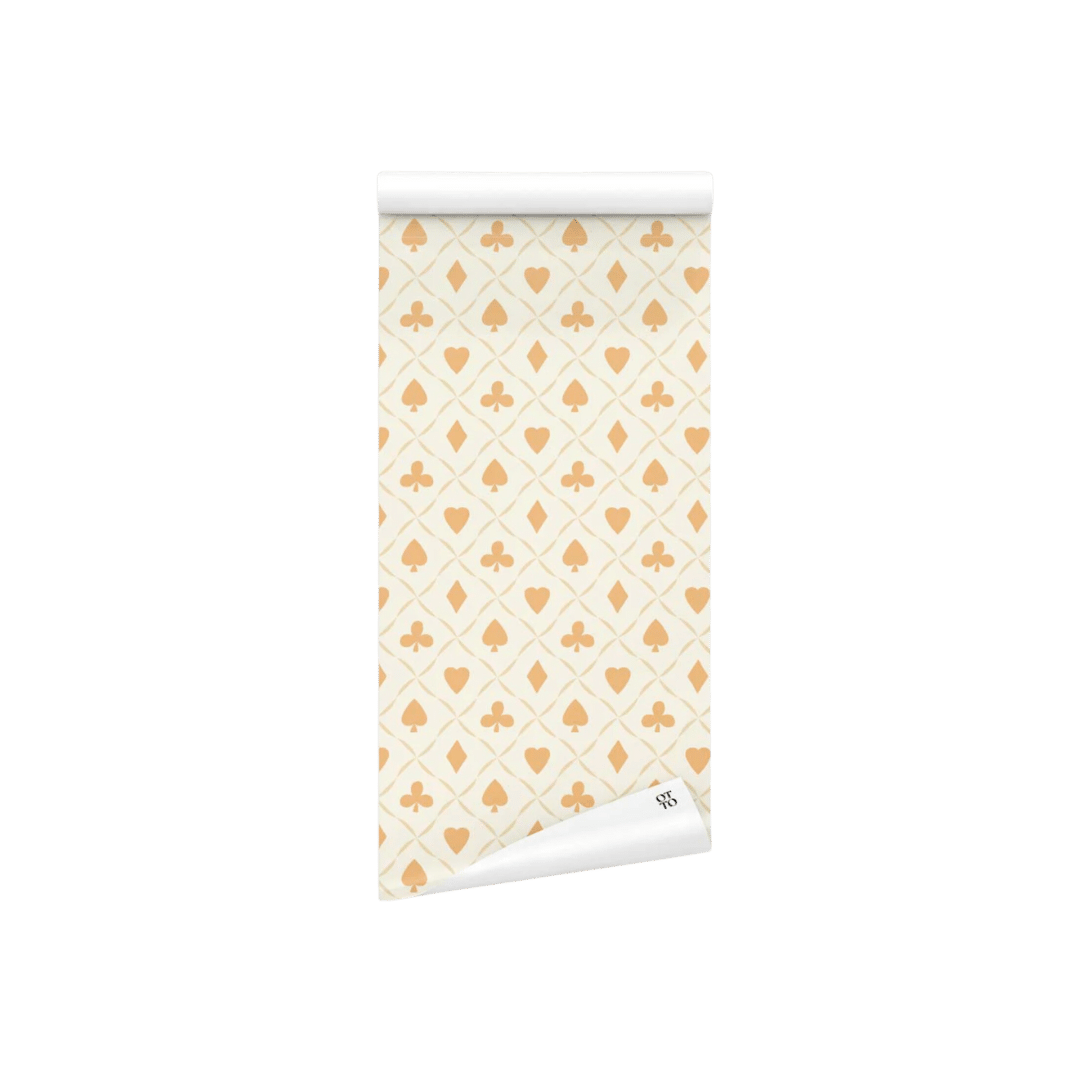
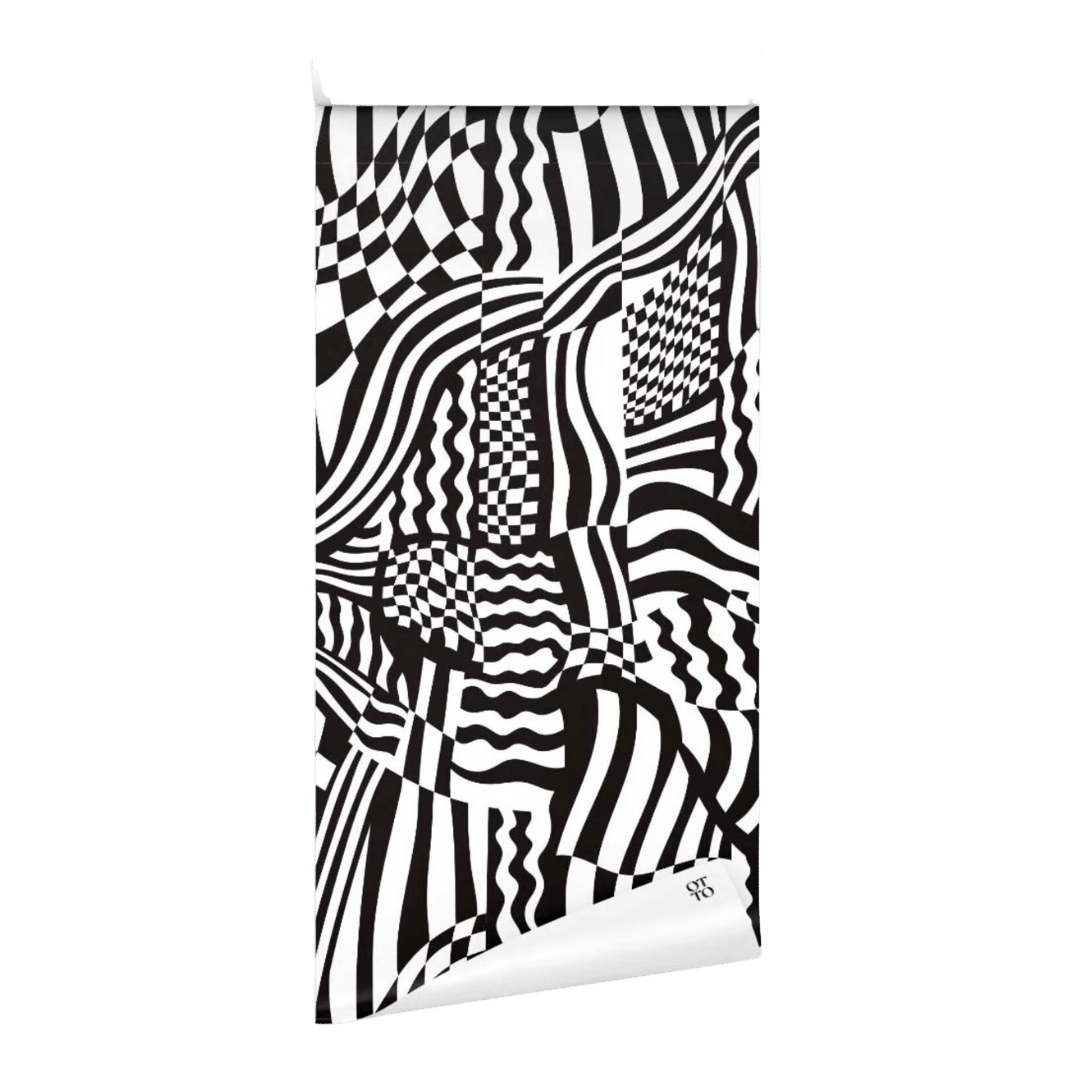
Peel and Stick Wallpaper
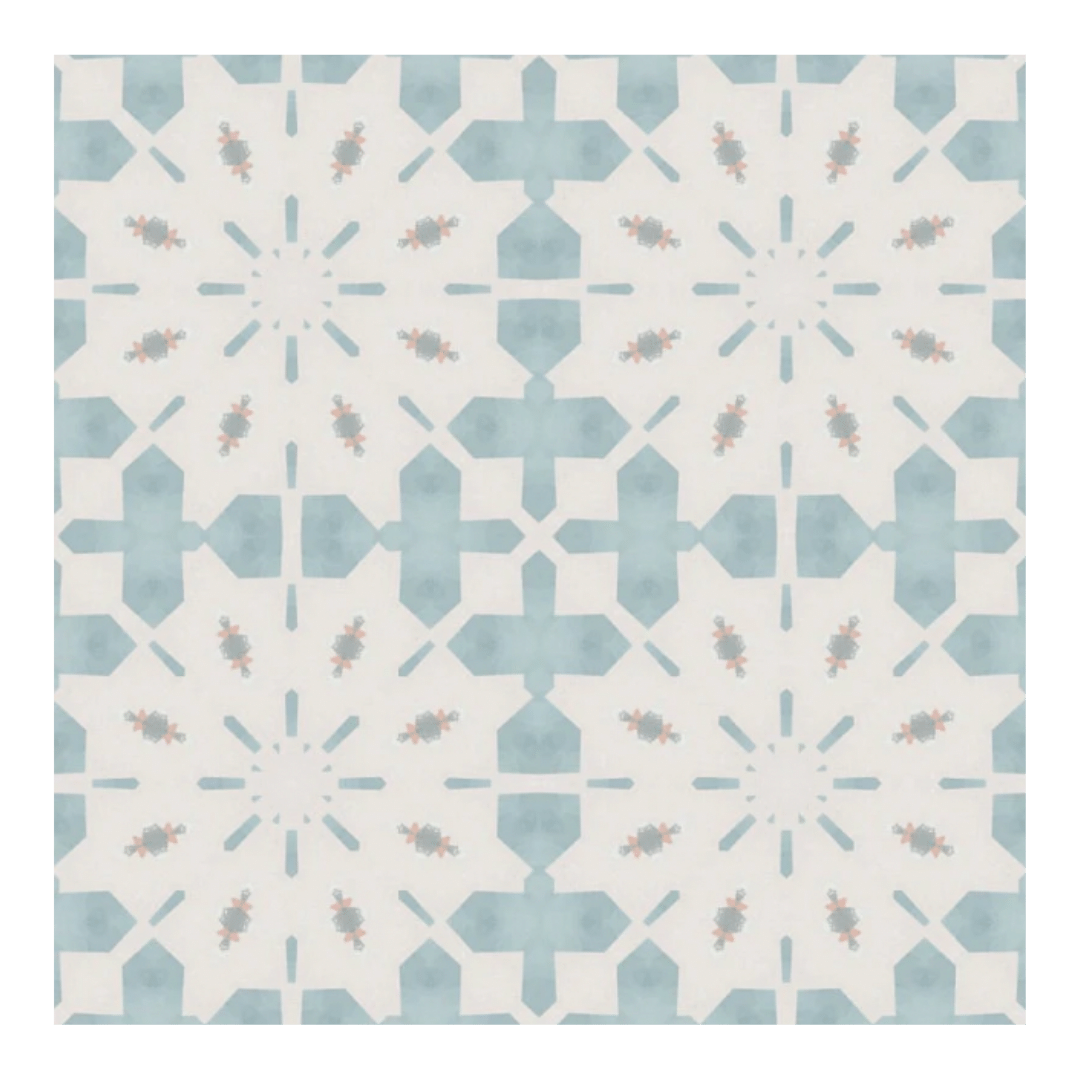
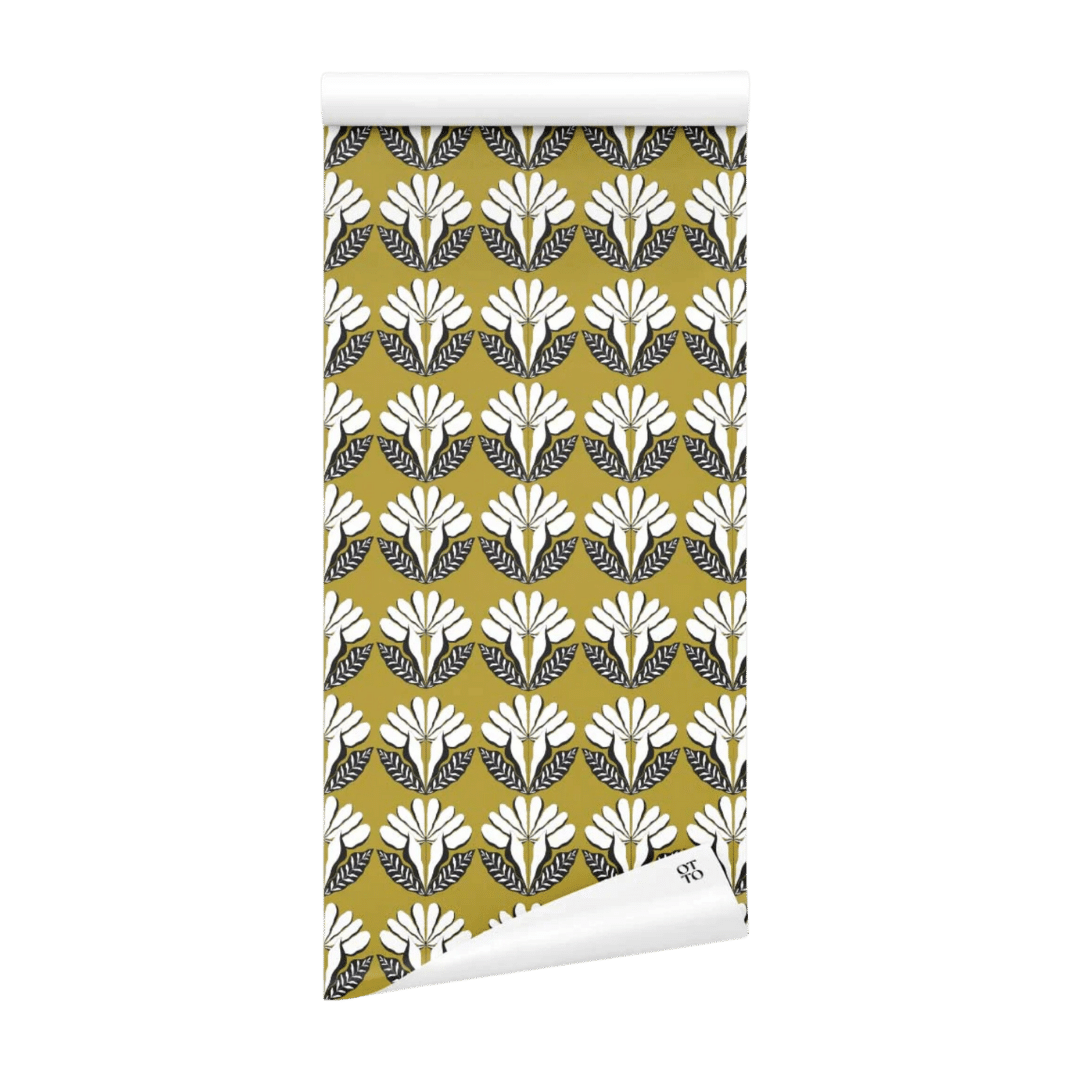
100% YES! Of all the wallpapers in my studio, the Anni pattern from Otto Studio performed the best on installation and removal. It left no residue and was super easy to pull down - no blow dryer needed. The zebras and cheetahs came down quickly enough but pulled off some paint in the bathroom.
The pink marble in the kitchen is actually a contact paper, meaning it has a stronger adhesive, so it came off in pieces, left a stick residue and required a lot of effort to remove. At the end, I had to use Goo Gone to get the adhesive up.
While I would still use the cheaper ones from Amazon as a backsplash (the price can’t be beat), I'll stick to higher-quality papers from Otto Studio for the walls in my new spot.


Dark Paint On The Walls
Everyone will tell you, painting a small dark space Black is a terrible idea… Those people and anyone else who is against painting in a rental is dead wrong. Paint is simply the cheapest way to upgrade a space and when you have the right supplies it can be a fun project to tackle over a weekend.
Repainting my studio only took a few hours given that I used a paint sprayer and I will for sure be repainting every room in the new apartment.

Although, undoing four years of hard work in just under two weeks was incredibly emotional, but now that it's all said and done, I’m ready to move on to bigger projects and share more design tips and tricks along the way. Stay tuned to see what’s next.
xo,
Imani